Openstack
The ML Cloud has an Openstack implementation, with the yoga release. OpenStack is an open source software that provides cloud infrastructure for virtual machines, bare metal, and containers. This page describes how to access OpenStack, allocate resources, and available interactions with a running VM.
OpenStack is an open source cloud computing platform that is used by organizations to manage and control large scale deployments of virtual machines, such as in a cloud computing or virtual private server environment. OpenStack is a popular choice for organizations because it is scalable, reliable, and provides a high degree of control over the underlying infrastructure. OpenStack can also be used to manage storage and networking resources in a cloud environment.
Login
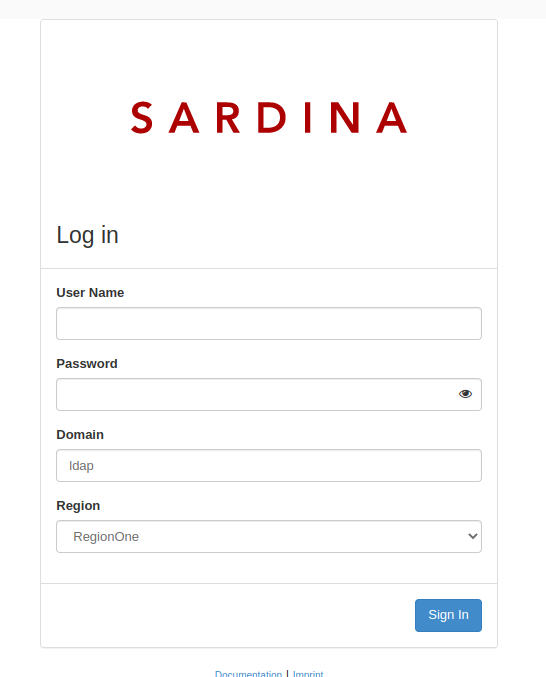
Go to https://mlcloud.uni-tuebingen.de where in the login screen you have to enter your username and password from your ML Cloud account, then choose Domain: ldap, and the Region which you would like to work on:
OpenStack Client can be installed from PyPI using pip:
pip install python-openstackclient
There are a few variants on getting help. A list of global options and supported commands is shown with --help:
openstack --help
Change to English
Once you are logged in go to your personal settings (top-right corner: user01 > Settings) and switch the language to English. This will make it easier to follow the majority of the avaible documentation and to communicate issues to us.
Set up SSH keys
Once you are logged in, go to Compute-> Key Pairs and either create a key pair or upload your public key. The key uploaded must be in the OpenSSH format.

Start a VM/Instance
Openstack refers to VMs as Instances. Be sure to be in the correct project and Region (top-left corner)
- Go to
Project > Compute > Instancesand useLaunch Instance
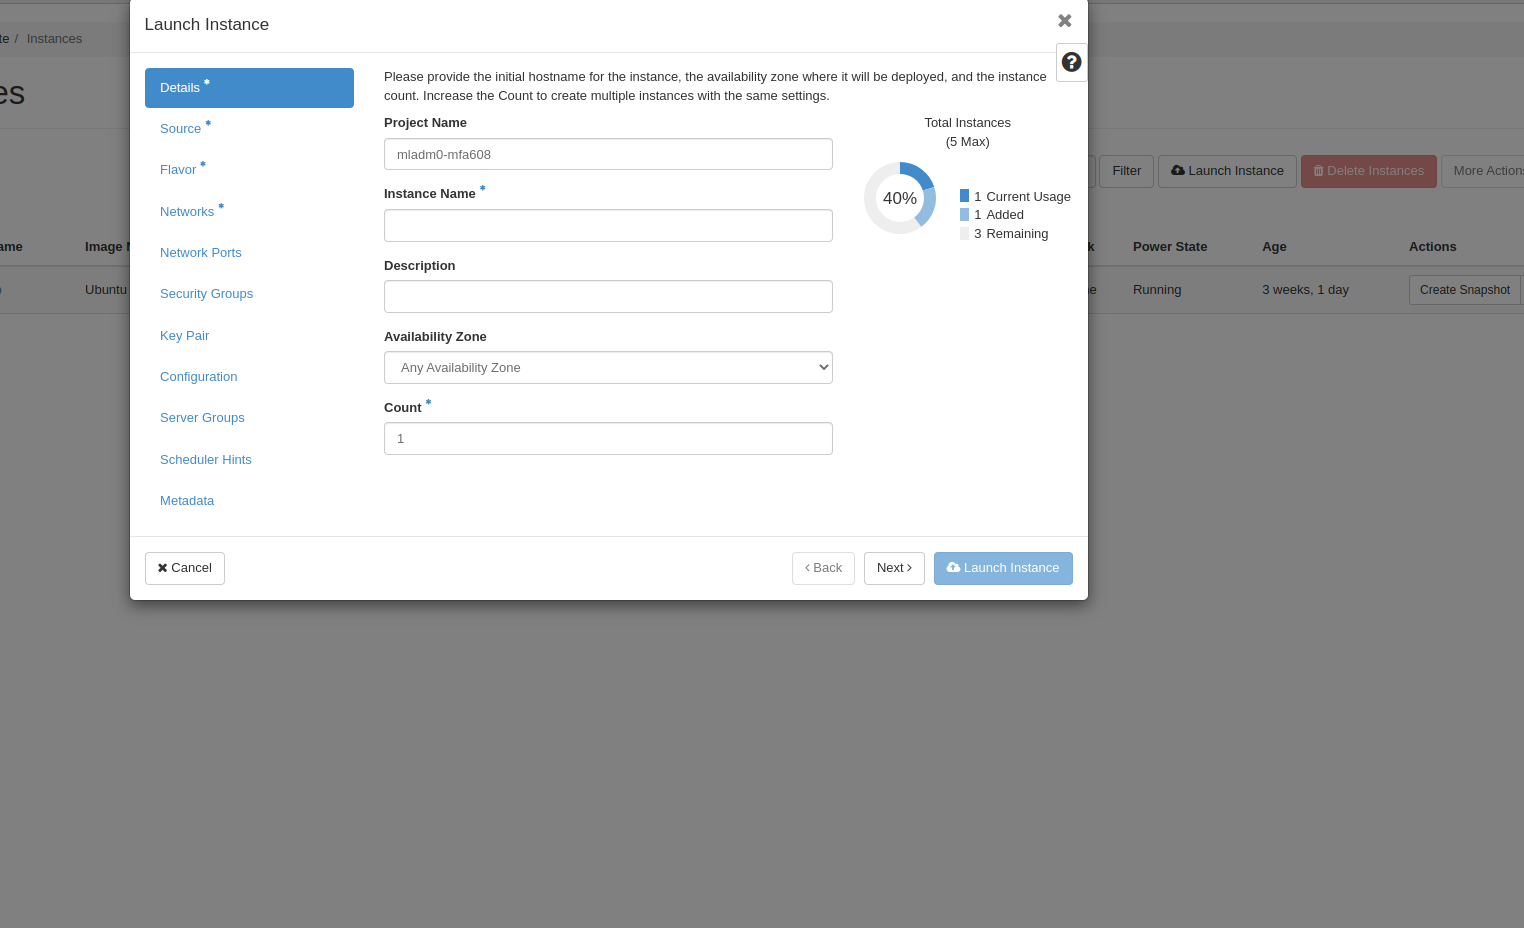
You have to fill out several details such:
- Details:
- Choose instance name
- Availability Zone:
nova
- Source:
- Image or Instance Snapshot: the first allows you to select from a pre-configured cloud-images, whereas
Instance Snapshotallows you to launch a clone of a previous VM.
- Image or Instance Snapshot: the first allows you to select from a pre-configured cloud-images, whereas
- Flavor
- specify your resource requirements. Total Disk refers only to the size of the root partition. Additional storage for data can and should be added later.
- Networks
- Select
qbstorage.4005in Region 1 (andstorage.3905in Region 2) if you later want to use Quobyte volumes (recommended for compute VMs) andlocal_networkotherwise. - We advice against adding more than one network.
- Select
- Security Groups:
- Choose one or more security groups which do not have overlapping rules.
- This setting can be adjusted afterwards and multiple times.
- Key Pair
- You can choose one of your uploaded public ssh keys.
- This setting can not be modified later: If you choose the wrong key or none the VM cannot be accessed.
- Network Ports/Configuration/Server Groups/Scheduler Hints/Metadata are optional and potentially destructive: Leave at their default values.
Confirm with the Launch Instance button.
Floating IPs
- Allocate a floating IP by going to
Project > Network > Floating IPsand using the buttonAllocate IPtoProject.- Use the Pool osprovider to get a public IP. The
DNS-*fields currently have no use and should be left empty.
- Use the Pool osprovider to get a public IP. The
- Associate a floating IP to a VM in the dropdown of this VM in
Project > Compute > Instances. The VM itself does not know anything about the floating IP itself makeing it independent of the IPs value
Access a running VM
To access your VMs you will need:
* a floating IP or access via a jump-host you might have previously configured
* appropriate security groups (the default security group is sufficient for ssh access),
* the username of standard cloud-images is usually the lower-case distribution name: e.g. ubuntu or centos.
Assuming you meet all requirements, used an Ubuntu image and a ssh key named id-user01_rsa, and associated the floating IP 134.2.168.10, you then should be able to log in via:
ssh -i /path/to/id-user01_rsa ubuntu@134.2.169.10
Security Groups
Security Groups are firewalls simplified to white-listing of protocols and ports. They can be edited under Project > Network > Security Groups. VMs can use multiple security groups.
While each project has its own default security group, which is managed by the admin team and opens the ssh port, you can create and manage other security groups within your poject.
Be aware that if rules of different security groups overlap: e.g. if ALLOW IPv4 to 0.0.0.0/0 (which allows all outgoing connections) is part of more than one used security groups it can cause problems.
Therefore the ML Cloud team recommends you:
* use one base security group like default per VM
* use additional extending security groups that add functionality: e.g. +http, https which would only whitelist tcp port 80 and 443.
* when you create a new extending security groups Openstack inserts ALLOW IPv4 to 0.0.0.0/0 and ALLOW IPv6 to ::/0, which you should delete.
Release ressources
Unused and running, or stopped VMs allocate ressources that other people could use. Please shelve VMs if you do not need them for more than 3 days or delete them if you do not need them at all.
-
Stopping a VM means: Force a shutdown of the VM and stop all
qemu-kvmprocesses of that VM. CPU Cores, GPUs, RAM and storage devices are still reserved for the VM and allow to restart it immidiately, but also prevents other people from using these resources. A stopped VM uses less energy and frees some compute time for other VMs on the hypervisor (if there are any). -
Shelving a VM means: Stop the VM, snapshot it (transfer its
'/'filesystem to the storage backend) and delete it on the hypervisor. The VM remains in the Openstack database. This frees all ressources your VM uses on the hypervisor, which can then be used by other users/VMs. Can be reversed by unshelving the VM if the required amount ressources is available on any of the hypervisors. Unshelving takes a little longer than restarting a stopped VM, because the snapshots needs to be transferred back to a hypervisor. The'/'filesystem you used is still the same and in the state you left it. Note that all data on ephemeral diskspace (typically /dev/vdb) is lost by this procedure. -
Deleting a VM means: It will be totally removed from the system (hypervisor + compute database). If you want to have a copy from your VMs
'/'filesystem please make a snapshot of the VM before deleting it.
Resizing Instance
TBD
Moving VMs to a Different Network
TBD